
Godot Shaders
by: dfranx
downloads: 5616
https://github.com/dfranx/PluginGodotShaders
Win64 Win32 Linux
by: dfranx
downloads: 5616
https://github.com/dfranx/PluginGodotShaders
Win64 Win32 LinuxThis plugin currently only supports canvas shaders, other shader types will be added soon. Support for canvas shaders is almost fully finished: syntax highlighting, autocompletion, error reporting, built-in variables, debugging, etc...
CanvasMaterial works just like a normal SHADERed shader pass, which means that you can add custom variables and bind your own textures.
Besides CanvasMaterial, there are also Sprite & BackBufferCopy. BackBufferCopy is a command that tells SHADERed to copy the contents of preview/window texture to SCREEN_TEXTURE.
First, create an empty SHADERed project. After that, right click on the "Pipeline" window.
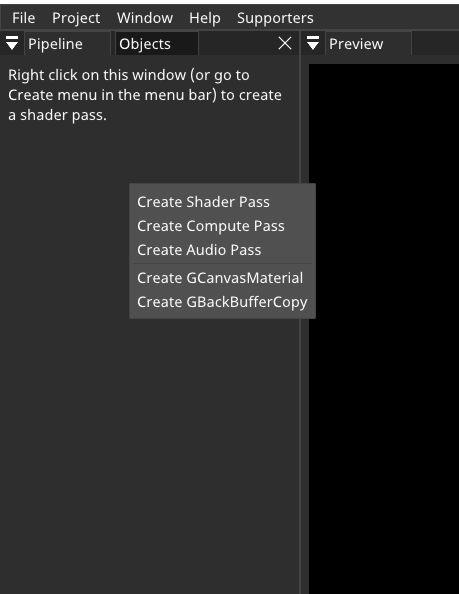
GCanvasMaterial is actually just a interface for canvas shader. GCanvasMaterial's children will use the same shader (that is specified in this item's properties).
GBackBufferCopy will refresh the contents of SCREEN_TEXTURE.
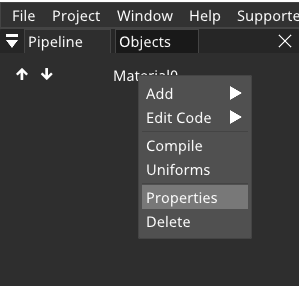
Click on GCanvasMaterial. The newly added item will appear in the "Pipeline" window. Right click on it and select properties.
In the properties you can:
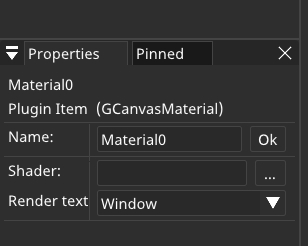
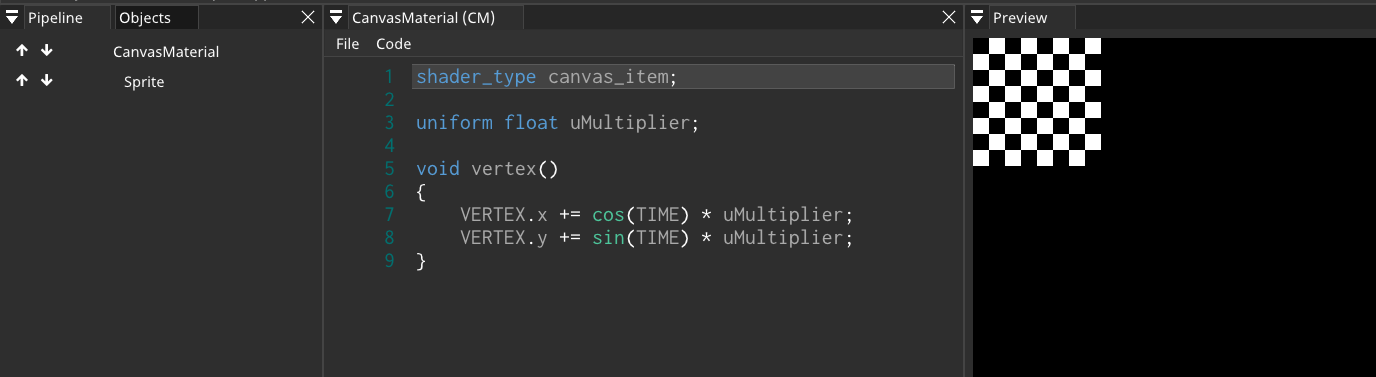
Create an empty .shader file. Select it in the GCanvasMaterial's properties. Copy and paste the following code:
shader_type canvas_item;

uniform float uMultiplier;

void vertex()
{
    VERTEX.x += cos(TIME) * uMultiplier;
    VERTEX.y += sin(TIME) * uMultiplier;
}
To edit the CanvasMaterial's code in SHADERed, either double click the item in Pipeline window or right click -> Edit -> Shader
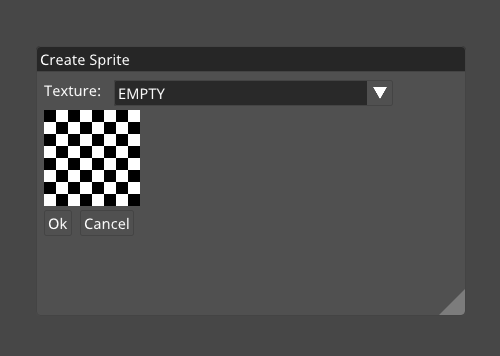
We should now add a sprite to the scene. Right click on your GCanvasMaterial item -> Add -> GSprite. It will prompt you to select a texture (NOTE: this can be changed later in the properties).
You should now have something like this:
As you can notice, the sprite isn't moving. That's because our uniform variable uMultiplier is set to zero by default. To edit it's value, right click on GCanvasMaterial -> Uniforms. Enter the value (either by dragging or by double clicking on the textbox)
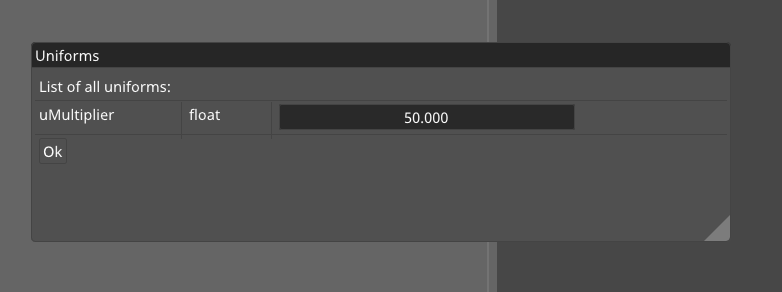
Here is the result:
To debug your shader, first pause the preview. You can do that by either pressing the Space key or the pause button on the statusbar. After that, select a pixel that you want to debug by clicking on the preview window. Additional information should appear in the "Pixel Inspect" and "Preview" windows.
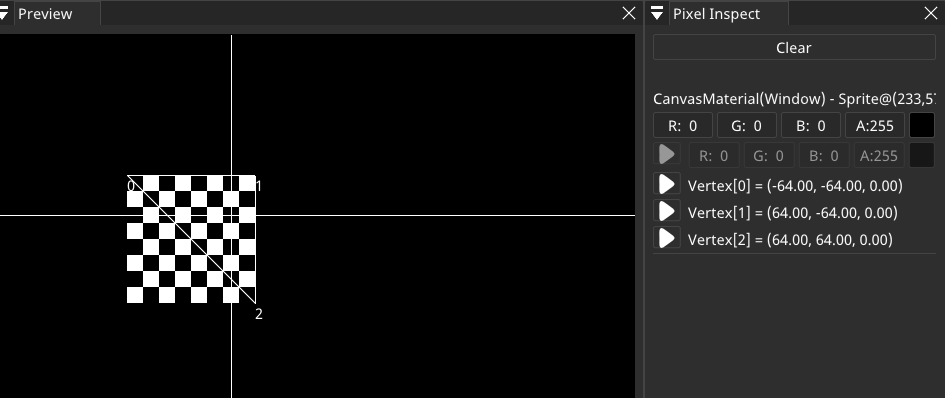
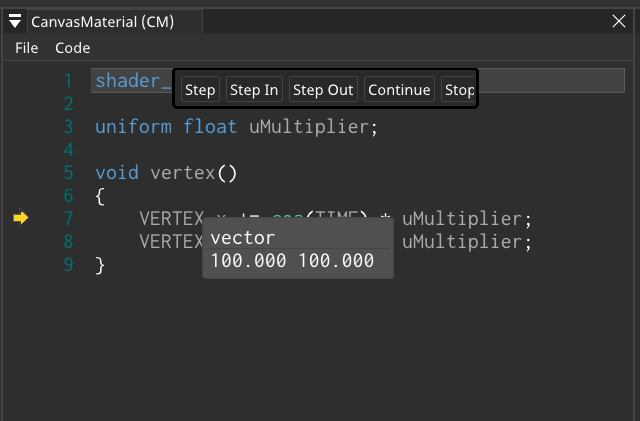
As it can be seen in the screenshot, you cannot debug the fragment shader since it isn't provided in our tutorial's shader (the fragment() function is missing). To start debugging the vertex shader, press the "play" button near one of the vertices. You can step through the code line by line and hover over variables to see their value.
This project is provided with the plugin. Check the examples/GodotSimple directory.